How to Use Premiere Pro | Adobe Premiere Pro for Newcomers
Adobe Premiere Pro is a important video editing software, and getting started with it can be a bit inviting due to its expansive features. also’s a step- by- step companion to help you navigate Premiere Pro and start editing your vids.
Still, you can visit Adobe’s website to use a 7-day trial. If you don’t have Premiere Pro. However, you can also buy it, If you like it.
1. Setting Up Your Project
-
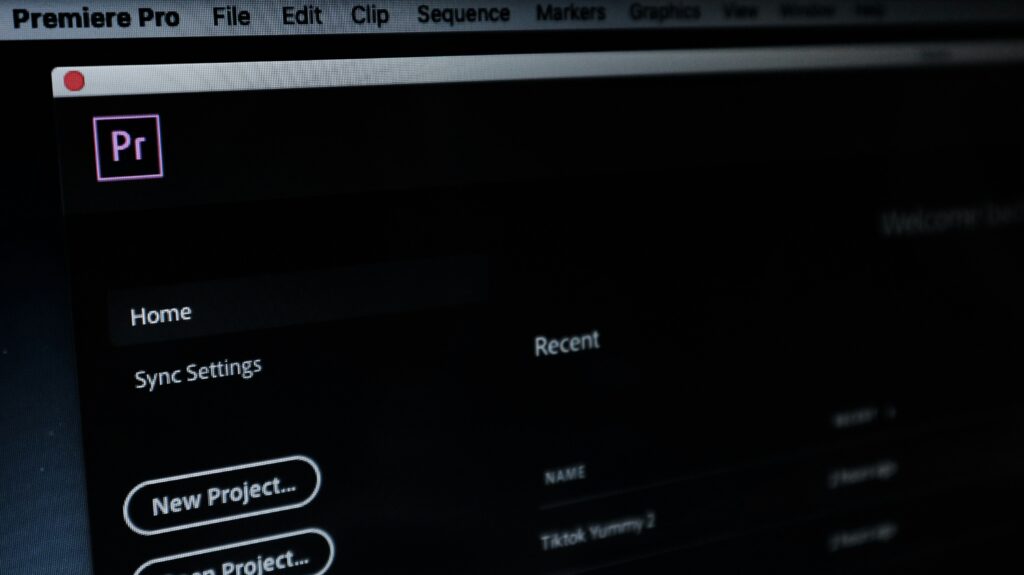
- Launch Premiere Pro: Open the application. You’ll be greeted with a start screen where you can create a new project or open an existing one.
-
- Create a New Project: Click on “New Project.” You’ll need to set a name for your project and choose a location to save it. Set your desired project settings, such as the video and audio settings. For most users, the default settings are sufficient.
-
- Set Up Your Workspace: Premiere Pro offers different workspaces tailored for various tasks (e.g., Editing, Color, Effects). Choose a workspace that fits your current task from the workspace menu at the top of the screen.
2. Importing Media
-
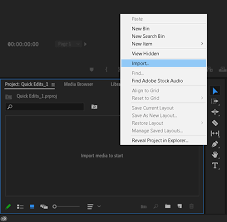
- Import Media Files: To bring media into your project, go to the “Media Browser” panel or choose “File > Import” from the top menu. You may also drag and drop files right into the Project panel.
-
- Organize Your Assets: Once imported, organize your media by creating bins (folders) within the Project panel. This helps in managing your clips, audio files, images, and sequences.
3. Creating a Sequence
-
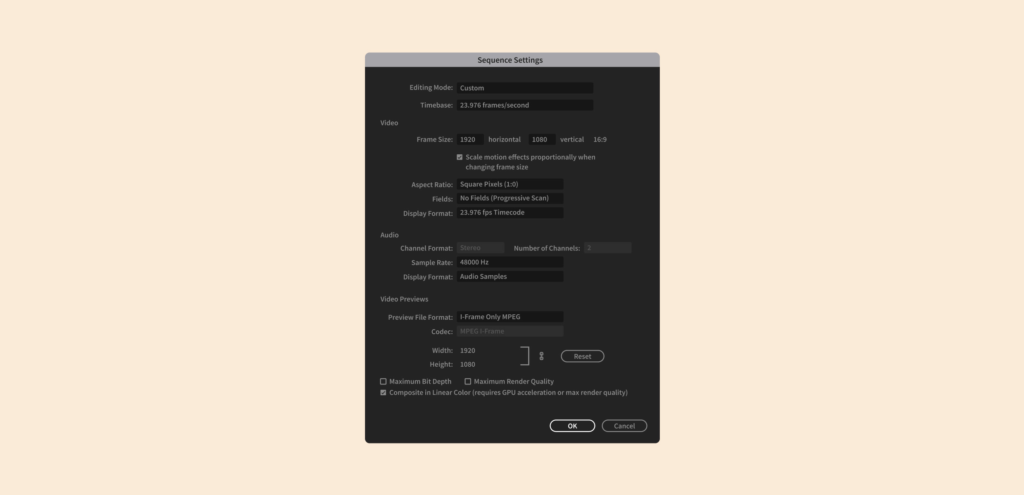
- Create a New Sequence: Right-click in the Project panel and select “New Item > Sequence.” Choose a preset that matches your video’s resolution and frame rate (e.g., 1080p HD or 4K). You can also create a custom sequence by adjusting the settings manually.
-
- Add Media to the Timeline: Drag your video clips, audio files, and images from the Project panel to the Timeline panel. This is where you arrange and edit your media.
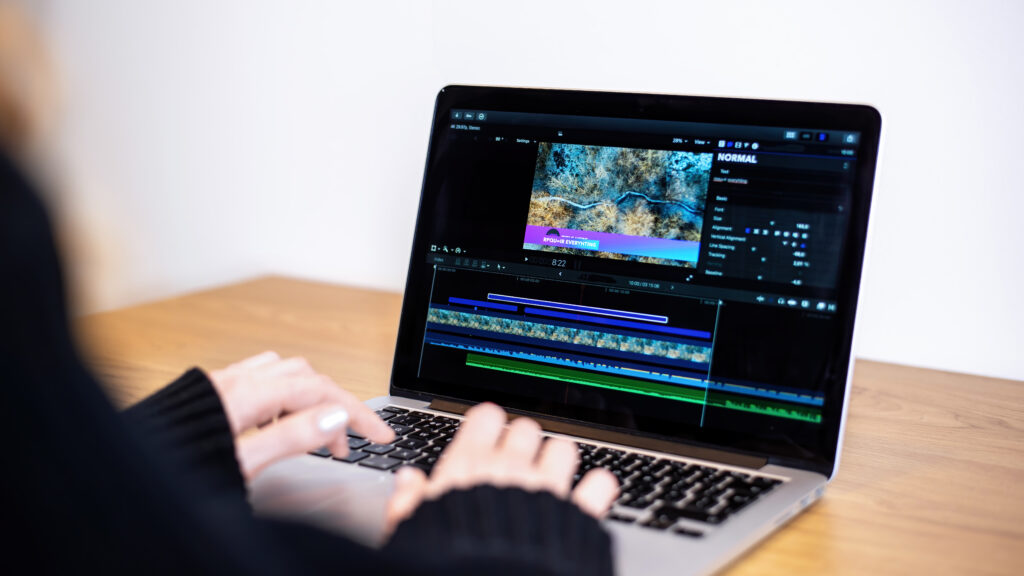
4. Basic Editing

-
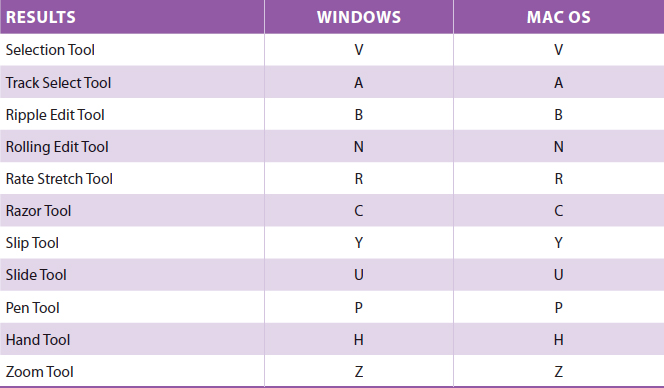
- Trim and Cut Clips: Use the “Razor Tool” (press
C) to cut clips on the Timeline. You can then select and delete unwanted sections or move clips around. The “Selection Tool” (pressV) allows you to select and adjust clip lengths.
- Trim and Cut Clips: Use the “Razor Tool” (press
-
- Add Transitions: To add transitions between clips, go to the “Effects” panel, and find the “Video Transitions” folder. Drag a transition effect (like Cross Dissolve) between two clips on the Timeline.
-
- Apply Effects: For visual effects, browse the “Effects” panel and drag effects onto your clips in the Timeline. You can adjust effect settings using the “Effect Controls” panel.
5. Color Correction
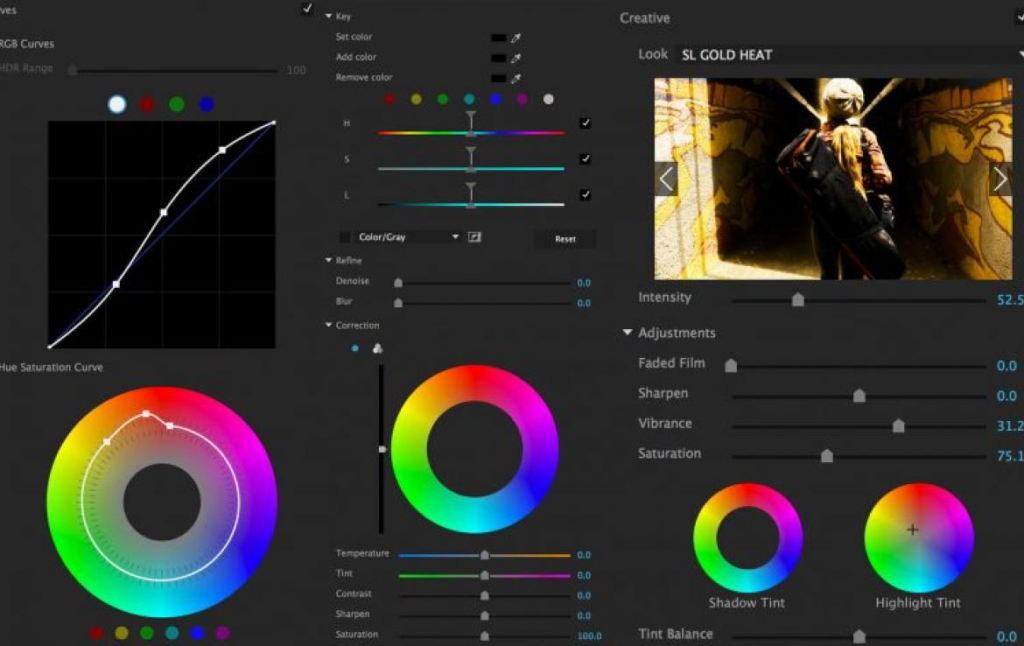
-
- Open the Lumetri Color Panel: Select your clip and navigate to the “Color” workspace. To adjust and grade colors, use the “Lumetri Color” panel.
-
- Adjust Color Settings: Use tools like the Basic Correction, Creative, Curves, and Color Wheels to adjust the exposure, contrast, saturation, and color balance of your footage.
6. Audio Editing

-
- Adjust Audio Levels: In the “Audio Track Mixer” or “Effect Controls” panel, adjust the volume levels of your audio clips. You can also apply audio effects for enhancement.
-
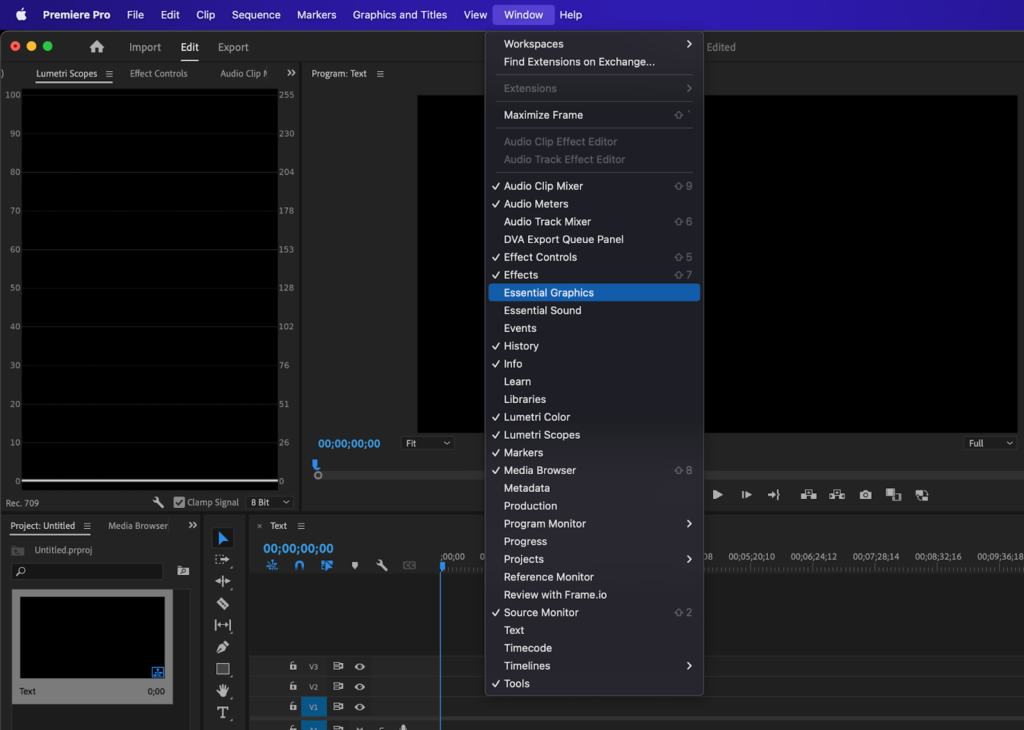
- Add Music or Voiceovers: Drag audio files onto the audio tracks in the Timeline. Use the “Essential Sound” panel for easy audio adjustments and improvements.
7. Adding Titles and Graphics
-
- Create Titles: Go to “Graphics” in the workspace and click on “New Layer > Text” to create a title. Use the “Essential Graphics” panel to customize fonts, colors, and animations.
-
- Use Templates: Premiere Pro offers pre-designed templates for titles and lower thirds in the “Essential Graphics” panel. Drag and drop these templates onto your timeline and customize them as needed.
8. Exporting Your Project
-
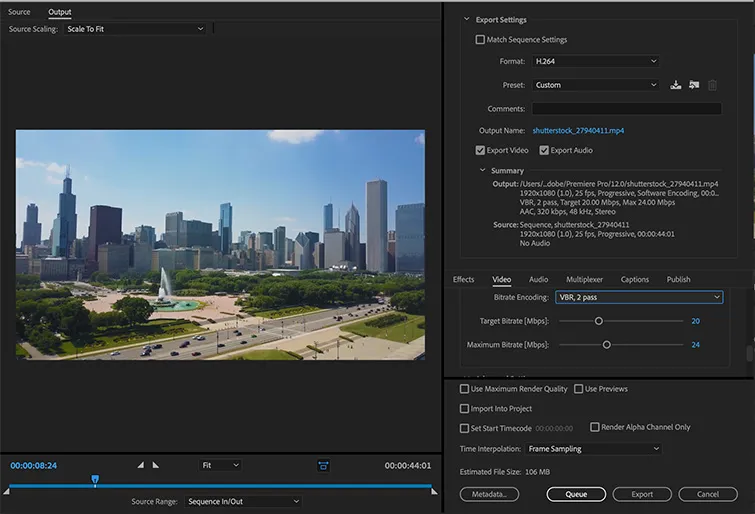
- Open Export Settings: Once your editing is complete, go to “File > Export > Media.” This opens the Export Settings dialog.
-
- Choose Export Settings: Select your desired format (e.g., H.264 for web, ProRes for high quality). Adjust settings like resolution, bitrate, and audio options according to your needs.
-
- Export Your Video: Click “Export” to render and save your final video file. You can also queue it for export in Adobe Media Encoder for batch processing.
9. Tips for Efficiency
-
- Use Keyboard Shortcuts: Familiarize yourself with common shortcuts (e.g.,
Vfor the Selection Tool,Cfor the Razor Tool) to speed up your workflow.
- Use Keyboard Shortcuts: Familiarize yourself with common shortcuts (e.g.,
-
- Save frequently: to avoid losing work.. Use “File > Save” or the shortcut
Ctrl+S(Windows) /Cmd+S(Mac).
- Save frequently: to avoid losing work.. Use “File > Save” or the shortcut
-
- Keep Your Workspace Organized: Utilize bins, labels, and markers to keep your media and timeline organized.
By following these way, you can effectively use Adobe Premiere Pro to edit and produce high- quality vids. trial with different features and tools to discover what works best for you.
Pingback: Video Editing Tips | 10 Essential Video Editing Tips For Your Videos